YouTube is far more than just a collection of videos online, says the team at social media tracking company amaSocial.
Did you know that YouTube is the second biggest search engine in the world?
Plus, on top of that, take a look at these impressive stats:
- YouTube has over two billion monthly users, who watch 250 hours of video on a daily basis.
- The average user spends just under 12 minutes on the platform every day, and views just over six pages, suggesting high levels of engagement.
- Music videos, product reviews, how-tos and vlogs are among the top four types of content that receive huge amounts of views.
- According to MediaKix, over 90% of shoppers have discovered a brand or product through YouTube.
With all of that said, it’s time to take a look at the advertising options the platform has to offer.
What types of ads can I run on YouTube?
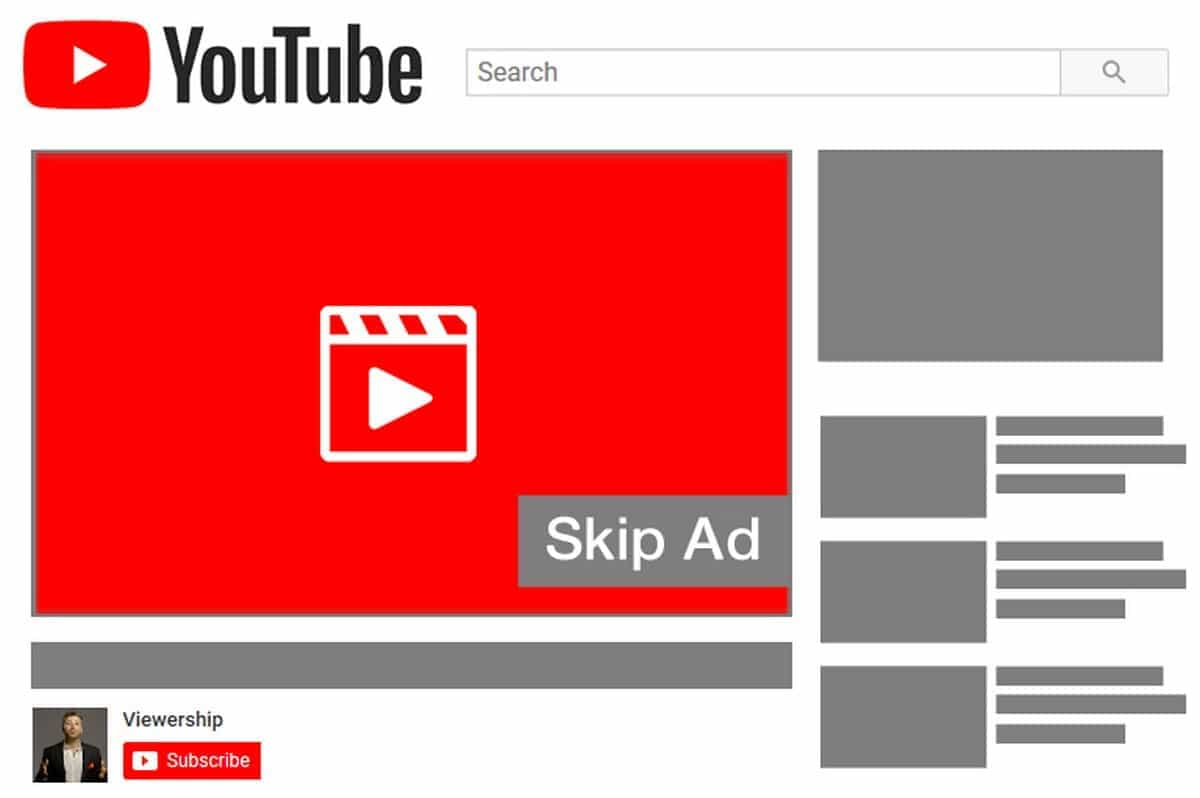
Pre-roll or mid-roll skippable ads
These are adverts that are shown before, or during, a video, and are skippable after five seconds.
These adverts are charged per view past the five-second mark, so you only pay for viewers who don’t skip your ad.
They have to be a minimum of 12-seconds long, but keeping it under three minutes is recommended.
Expect to be charged when a viewer has watched the first 30 seconds (if the video is longer than that), the whole video (if it’s between 12 and 30 seconds long), or they have interacted with your ad by clicking on something — whichever comes first.
amaSocial top tip: YouTube uses the term ‘TruView’ to describe adverts that are only paid for when they are viewed for 30 seconds, or the full length of the advert.These adverts can either be displayed before a video (pre-roll) or in the middle of a video (mid-roll).
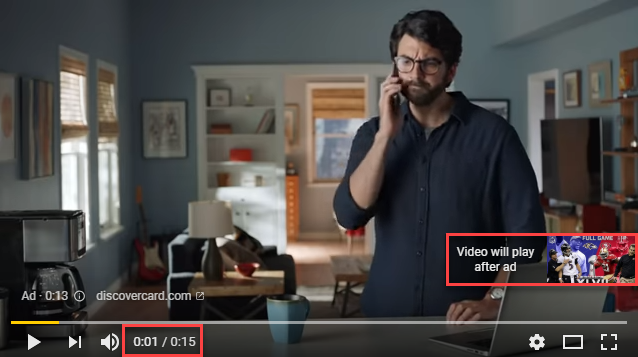
Non-skippable in-stream ads
The truth is, people skip adverts. That’s why YouTube also offers pre-roll or mid-roll adverts that viewers cannot skip.
We’d suggest only using this option if you’ve got some really good creative work and you’re sure that it will be able to keep users’ attention for the full 15 or 20 seconds that your ad plays. If you’ve got a really good ad, this can be a great option for increasing brand awareness.
Keep in mind that since users can’t skip past these adverts, you’ll be charged per impression.
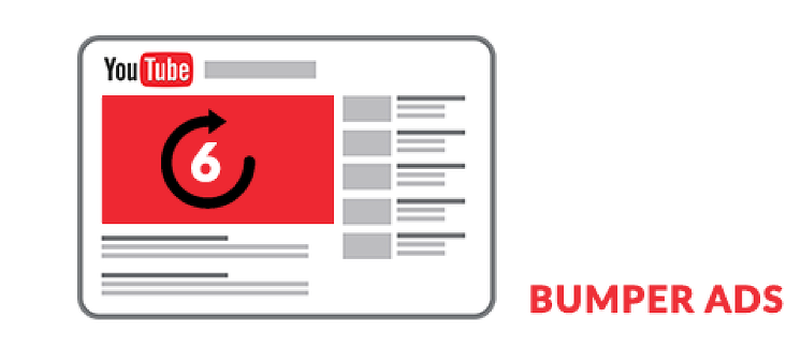
Bumper ads
Bumper adverts are a type of short, un-skippable in-stream adverts. As with regular in-stream ads, you will pay per impression and they can appear pre-mid- or post-roll.
Generally, these adverts are best used to complement larger video campaigns, as it’s difficult to tell a good story in just six seconds. Use your time wisely, and only include brand elements that you want audiences to remember — there is no room for ‘extras’ in such a short advert.
Bumper ads are the best choice if your campaign aim is to increase reach and awareness.
Video discovery ads
Display adverts, previously known as in-display ads, appear as ‘related videos’ on the right-hand video sidebar. These ads also appear on the YouTube homepage and on search results pages.
These ads include up to three lines of text and a thumbnail. If someone clicks on your ad, they will be automatically redirected to your video page or to your YouTube channel.
If you’re wondering why someone would choose a discovery ad as opposed to one of the other formats, keep in mind that YouTube is the biggest search engine after Google. Users are looking for answers, not just videos.
If your video looks more relevant to the organic search results that appear, a user can choose to watch your content instead.
amaSocial top tip: Discovery ads are classed as ‘TruView’, meaning that you only pay when they are viewed for 30 seconds, or the full length of the advert.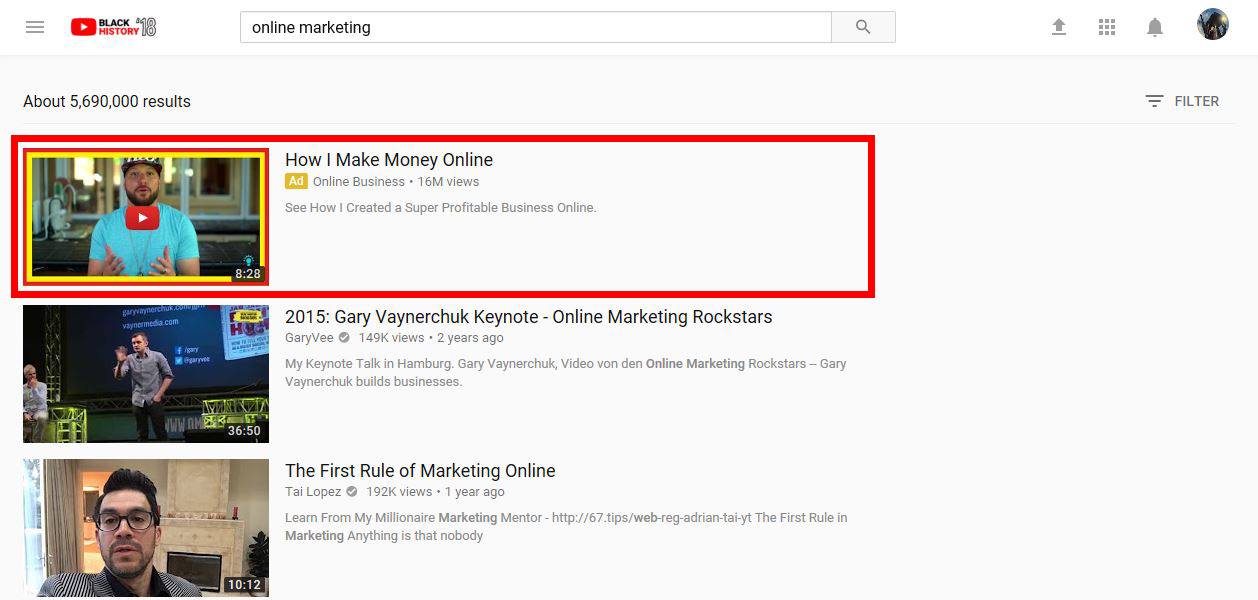
Non-video ads
Did you know that you can also run ads on YouTube that aren’t in video format?
The platform offers two types:
- Display ads: These display in the right-hand sidebar and include text and an image (similar to discovery advert). However, instead of linking to a video or YouTube channel, these ads feature a call-to-action and link directly to your website.
- In-video overlays: These adverts appear as text in a box laid over video content on monetised YouTube channels.
amaSocial top tip: YouTube does not necessarily display adverts alongside content that is related to the ad, so ensure your content is clear and non-reliant on the video content.
How to run your first advert on YouTube
Now that we’ve covered the various types of adverts you can choose from on YouTube, let’s dive right into the simple steps you need to follow to set up your very first campaign!
Step 1: Upload your video advertisement to YouTube
Before you can get your campaign started, you’ll need to upload your video advert to your YouTube channel.
To do this, you’ll need to log into your account and click the video camera icon on the top right of the screen and click the ‘Upload video’ option.
From there, you’ll be taken to the upload window where you can choose the file you want to upload. You can simply drag your file across and it will upload.
Once it’s uploaded, be sure to fill in all the necessary details, like the title, description, and tags for the video.
Step 2: Create a new campaign on Google Ads
With your video uploaded, you’re all ready to start creating your YouTube ad campaign!
You’ll need to log into
your Google Ads account to start. Once logged into your account, click on ‘All campaigns’ in the left-hand sidebar and click the ‘+’ icon to create your new campaign.
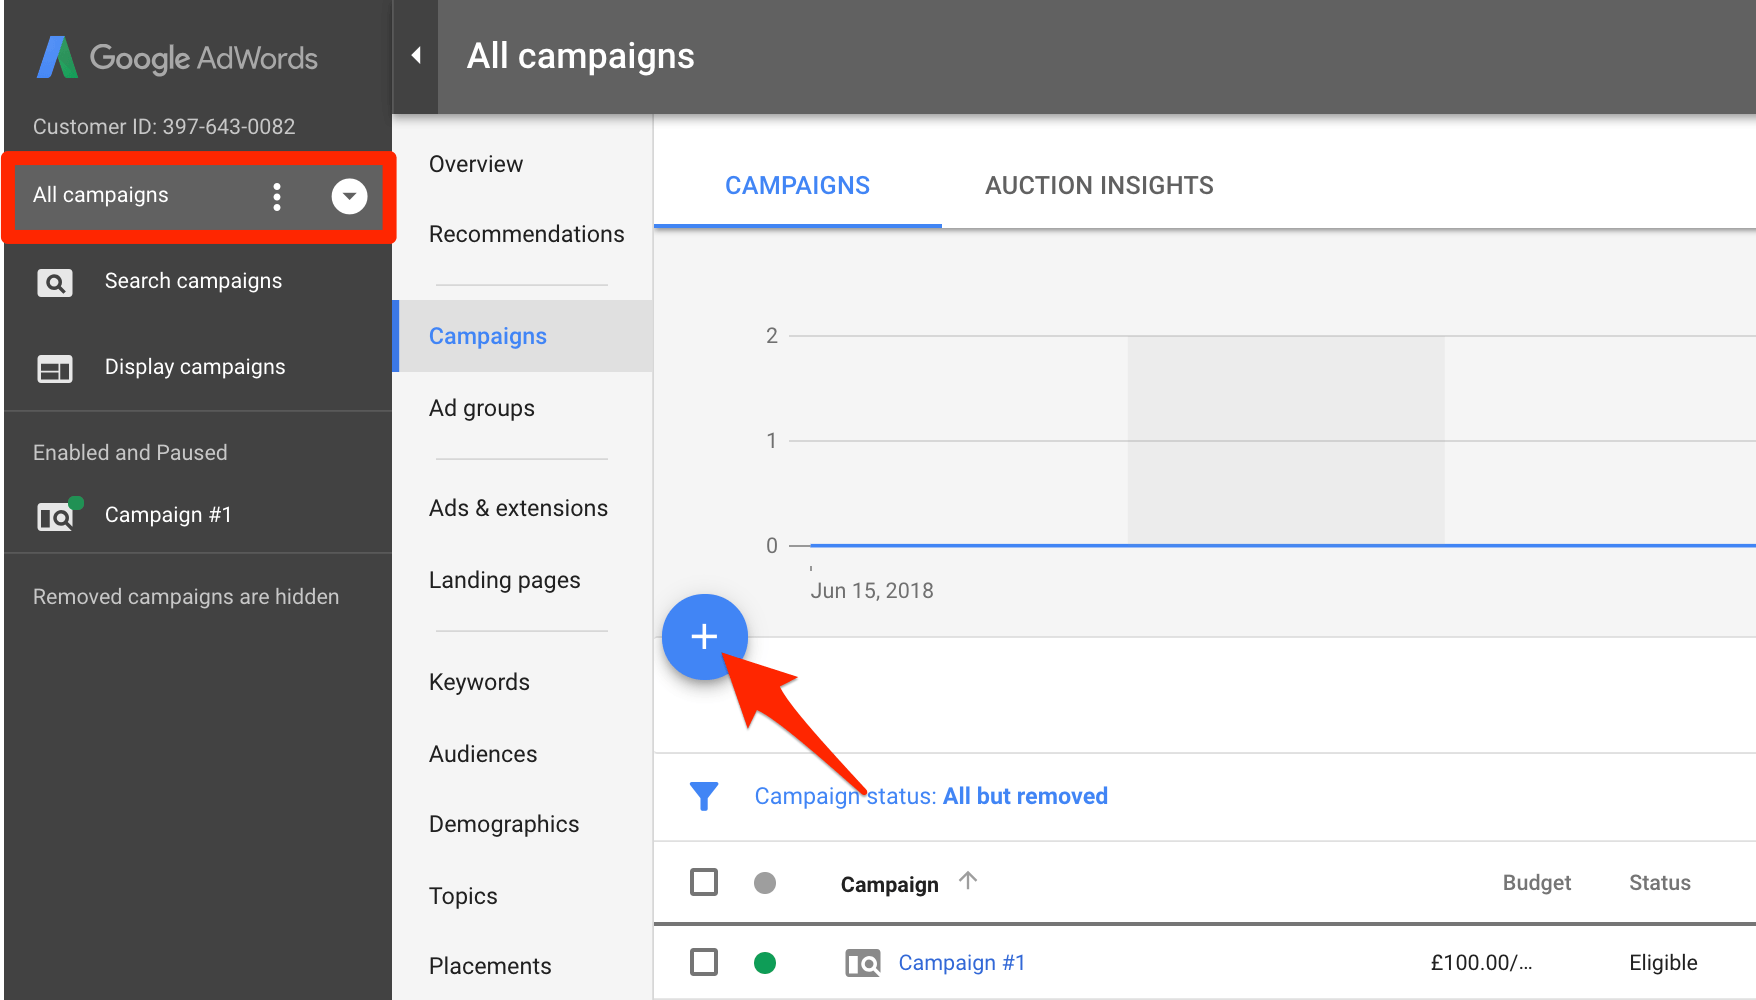
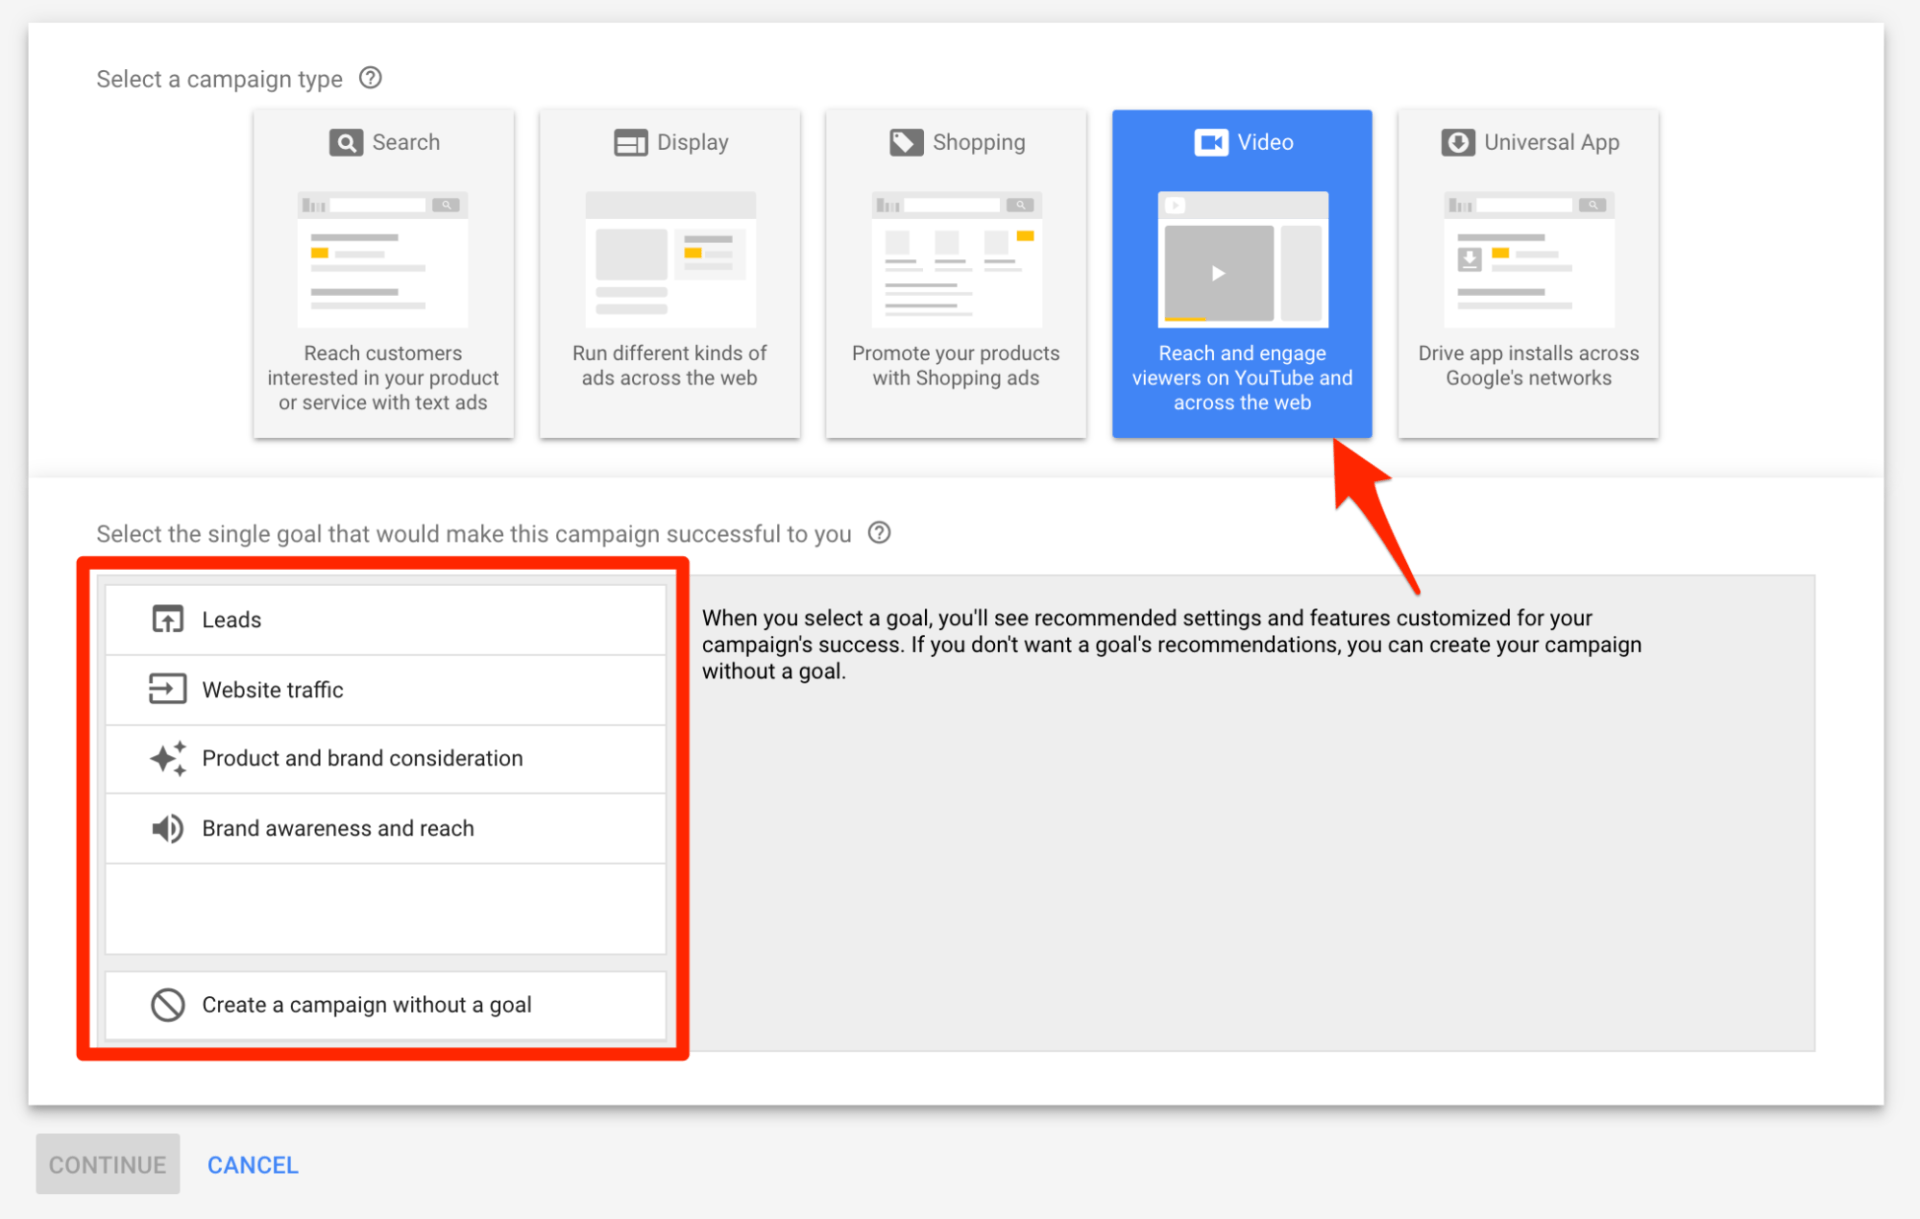
From there, a window will pop up asking you to select a campaign type from the five following options:
- Search
- Display
- Shopping
- Video
- Universal App
You’ll need to select the ‘Video’ option, and choose one goal that correlates with your objective for your campaign.
For example, if you want to use your YouTube ads to increase the number of visitors to your website, you would select the “Website traffic” goal.
Step 3: Configure your campaign
With your goals selected, you’re now ready to get your campaign configured!
Name your campaignThe campaign name is only for internal use, so it doesn’t have to be the campaign’s official title, just something that clearly describes it. If you’re running multiple campaigns in Google Ads, this will help you to easily identify each one.
Set your ad budgetSelect the average amount you want to spend each day that your campaign is active.
Start small — that way you can test options and refine your campaigns to ensure you’re getting the best return on investment.
You’ll have to choose between the following two advert delivery methods:
- Standard: Shows your ad throughout the day, spreading your budget out fairly evenly.
- Accelerated: Shows your ad at every available opportunity, meaning your budget will run out quicker.
Select the campaign durationChoose when you’d like your ad’s start and end date to be. Adverts can be placed as soon as they are approved, which usually takes about one business day.
You also don’t have to select an end date for your campaign — you can keep it running indefinitely as long as you keep paying for it.
Choose your networksHere, you can select where you’d like your adverts to appear. When creating a video ad, these are the three options that are available:
- YouTube search results: Your ads will appear next to YouTube search results (selecting this option will only allow you to use discovery ads).
- YouTube videos: Your adverts will appear on YouTube videos, channel pages, as well as the YouTube homepage.
- Video partners on the display network: Your adverts will appear across Google’s other advertising platforms.
Narrow down your audienceSelect the language and country that you’d like your advert to appear in. Be sure to choose options that align with your overall marketing and brand strategies.
Pick a bidding strategyChoose how you’d like to pay for your adverts. Remember that certain ad formats have their own cost structures, so your options may be limited based on the ad types you’ve selected.
Google Ads offers the following four payment options:
- Maximum cost-per-view (CPV): Costs are based on the number of views and interaction a video receives.
- Maximum cost-per-impression (CPM): You are charged for every thousand impressions that your advert receives.
- Viewable cost-per-impression (vCPM): You are charged per thousand impressions when your ad has definitely been seen. If a user lands on the page and immediately bounces off, you won’t be charged.
- Target cost-per-acquisition (CPA): The costs are based on the actions taken by the audience, such as clicking on your advert or visiting your website.
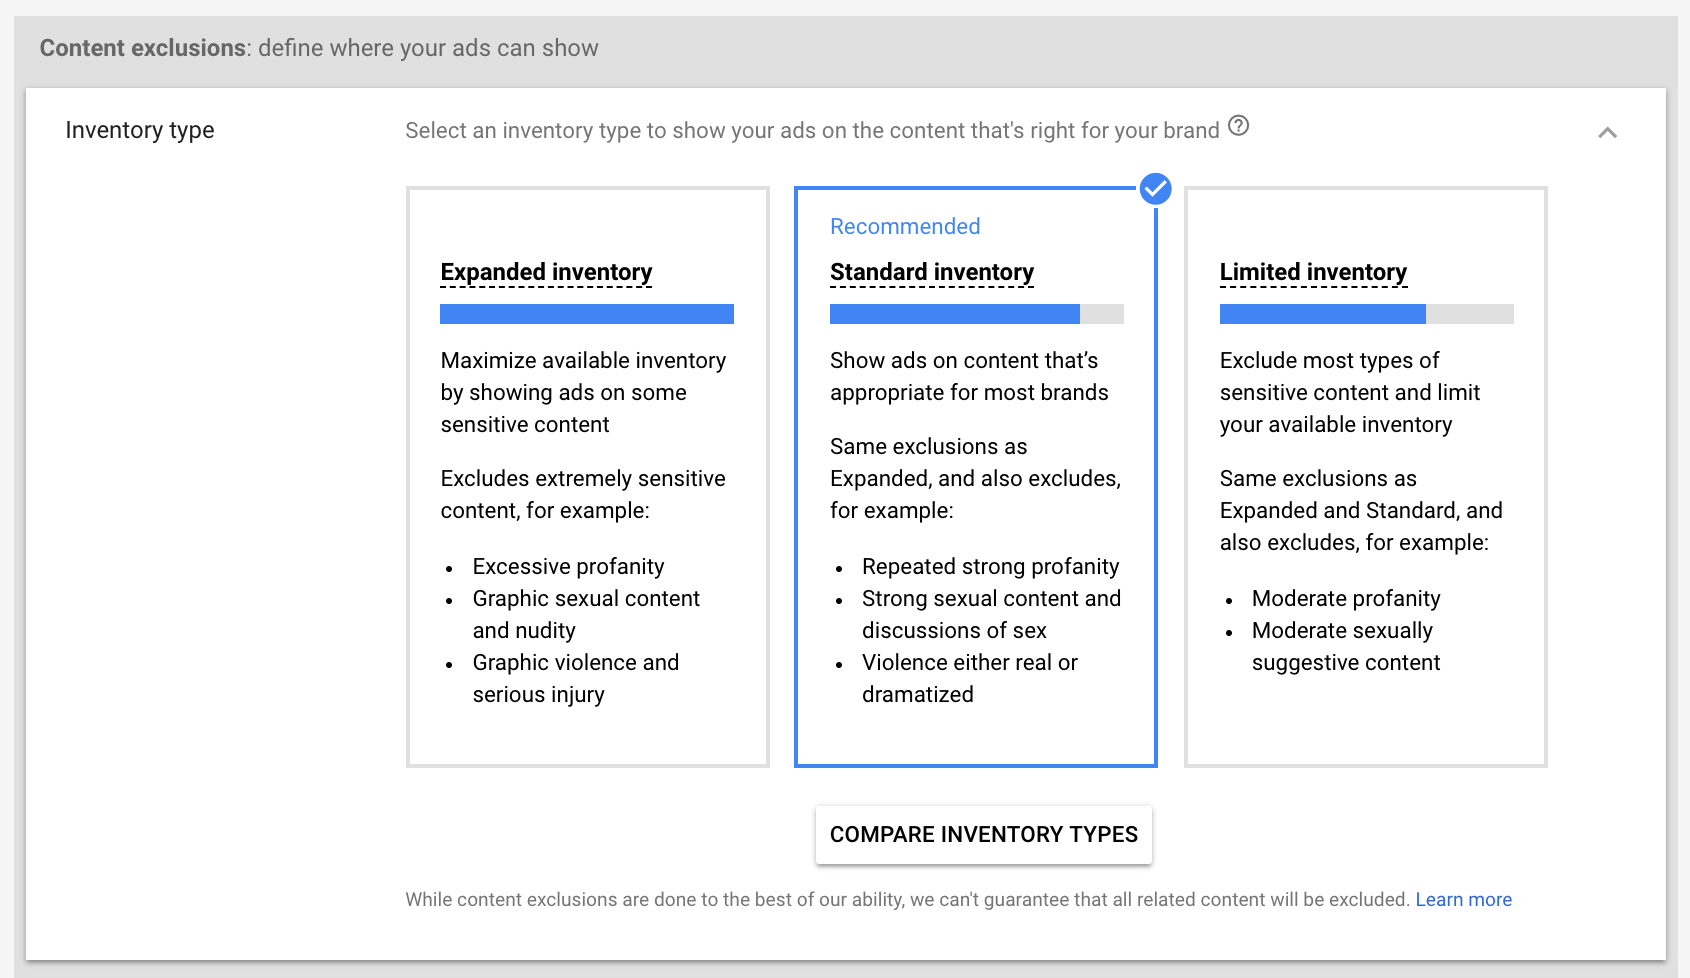
Choose an inventory typeThis section is all about brand safety. You can choose to show your adverts on content that is inline with your brand.
For example, if you are advertising products aimed at children, you don’t want your ads to appear alongside violent or harmful content.
You can choose between three inventory types:
- Expanded inventory: Maximise the available inventory by showing ads on some sensitive content.
- Standard inventory: Show ads on content that is appropriate for most brands.
- Limited inventory: Exclude most types of sensitive content and limit your available inventory.
 Exclude content
This section goes a little deeper than the inventory section, by allowing you to opt out from individual sensitive content categories, such as “Tragedy and conflict,” or “Sensitive social issues.”
amaSocial top tip: Don’t skip out on these selections, as doing so could lead to a branding nightmare!
Step 4: Choose the people you want to reach
You’ll need to refine the audience you’re wanting to reach with your adverts. Be sure to give your ad group a descriptive name so you can select the same audience for future campaigns.
Here, you can define who you want to reach by selecting options including age, gender, parental status, income etc. Google Ads offers a variety of options to ensure you find the perfect target market.
Step 5: Select where you want your ads to show
In this step, you’ll need to choose the specific type of content that you want your adverts to appear on.
To start, input the keywords you’re targeting. If you’re unsure of the keywords to use, Google Ads has a nifty ‘Get keyword ideas’ tool that can help you find related keywords to target.
Then, select topics that are relevant to your advert or your brand. This is where you can choose to show your ads on content about specific topics.
Now you can select
specific places where you would like your ads to show. If you leave this section blank, your ad will appear on any YouTube or Display Network placements that match your other targeting selections.
Step 6: Select your marketing video
This is where you link your video, already uploaded to YouTube, to the advert you’ve just created.
If you haven’t uploaded your video to YouTube in step one — fear not! You can upload it at this point. Once your video appears in the search bar, click on it to link it to your ad.
Step 7: Select your video format
Lastly, you’ll need to select your video format.
Google Ads will show you which options are available based on the campaign selections you’ve already made up to this point.
Be sure to add inthe necessary URLs, calls-to-action, and give your advert an SEO-friendly headline.
To finish up, simply click “Save and continue,” and then click “Continue to campaign.”
And that’s it! Your very first YouTube advert is ready to publish!For more information, visit
amasocial.co.za or connect with the amaSocial team on
Facebook,
Twitter or
LinkedIn.